- Top Results
- Bosch Building Technologies
- Security and Safety Knowledge
- Security: Video
- How to exchange the battery for the DIVAR Hybrid and Network series?
How to exchange the battery for the DIVAR Hybrid and Network series?
- Subscribe to RSS Feed
- Bookmark
- Subscribe
- Printer Friendly Page
- Report Inappropriate Content
This article explains how to exchange the battery on the DIVAR Hybrid and Network in a safe way
Product families
- Divar Hybrid 3000 and 5000 series
- Divar Network 2000, 3000 and 5000 series
When the battery is getting too less power due to his lifetime, it needs to be exchanged. For the above mentioned families the life time of the battery is guaranteed for 5 years. When the power of the battery is getting to low the clock of the recorder will be displaying the wrong date and time at startup it shows 01-01-2000 00:00
This wrong date and time will only be seen at the moment the CTN has been started up after powered off.
Step-by-step guide
What is being done or recommended to address:
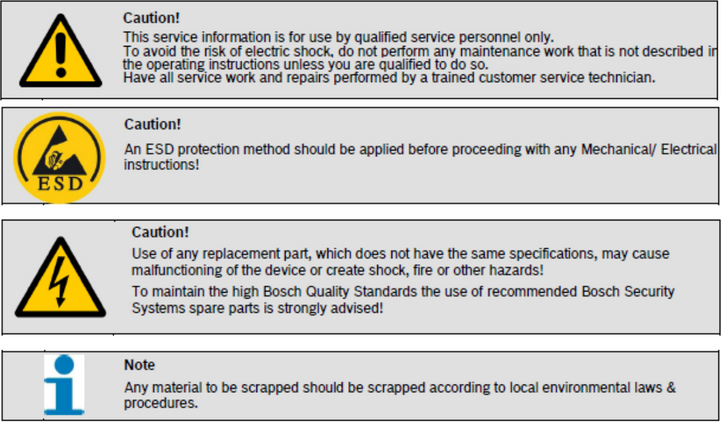
- To exchange the battery you need to take some safety precautionary measures first;
- Repair work on the device must comply with the safety standards specified in EN 60065 (VDE 0860).
- A mains isolating transformer must be used during any work for which the opened device is connected to and operated with mains voltage.
- The device must be free of any voltage before performing any alterations with upgrade sets, switching the mains voltage, or performing any other modifications.
- The minimum distance between voltage-carrying parts and metal parts that can be touched (such as the metal housing) or between mains poles is 3 mm, and must be observed at all times.
- The minimum distance between voltage-carrying parts and circuit parts that are not connected to the mains (secondary) is 6 mm, and must be observed at all times.
- Special components that are marked with the safety symbol in the circuit diagram (note) must only be replaced with original parts.
- Unauthorized changes to the circuitry are prohibited.
- The protective measures issued by the relevant trade organizations and applicable at the place of repair must be observed. This includes the properties and configuration of the workplace.
- Observe the guidelines with respect to handling MOS components.
When these safety measures has been taken, you can open the recorder. To open the CTN unscrew the 4 screws marked red and remove the top cover of the unit.

When you look at the main board you can see the battery (see picture below)
- The battery which is used is the CR2032
- To remove the battery push as shown in the picture against the battery holder.
- When done correct the battery will be lifted and can be taken out.
- Place the new battery.

Additional information:
- In case you have exchanged the battery no settings or recordings are lost.
- The only thing which needs to be done is setting the time and date back to the actual time/date.
How to change the time:
- After exchanging the battery and closing the unit again startup the unit.
- Fill in the administrator password
- Go to main menu
- Go to settings

- Change the date and the time.
- After setting it to the right date and time don’t forget to save it.

⚠️ To verify if the procedure was successfully done, please restart your unit and check afterwards if the date & time are correctly set.
Still looking for something?
- Top Results
