- Top Results
- Bosch Building Technologies
- Security and Safety Knowledge
- Security: Video
- How to export mp4 to a local directory (Windows) from Video Security Client (Remote Portal...
How to export mp4 to a local directory (Windows) from Video Security Client (Remote Portal account)?
- Subscribe to RSS Feed
- Bookmark
- Subscribe
- Printer Friendly Page
- Report Inappropriate Content
This article contains the step-by-step guide related to the MP4 Video Export from Video Security Client to your PC (Windows) in a local directory.
In this article, the Video Security Client is connected to the Remote Portal and explains how you can export video from cameras connected to your RP account.

Step-by-step guide
1. Once you are in the Video Security Client, please make sure that you are connected to your Remote Portal account. (Tip: How to connect my Remote Portal account to Video Security Client?)
If you are correctly logged in, you will be able to see your groups. Go to the group where your camera is located and for which you want to export the MP4 video:

2. Select your camera and click on the Playback button > click Exports and select Export video:

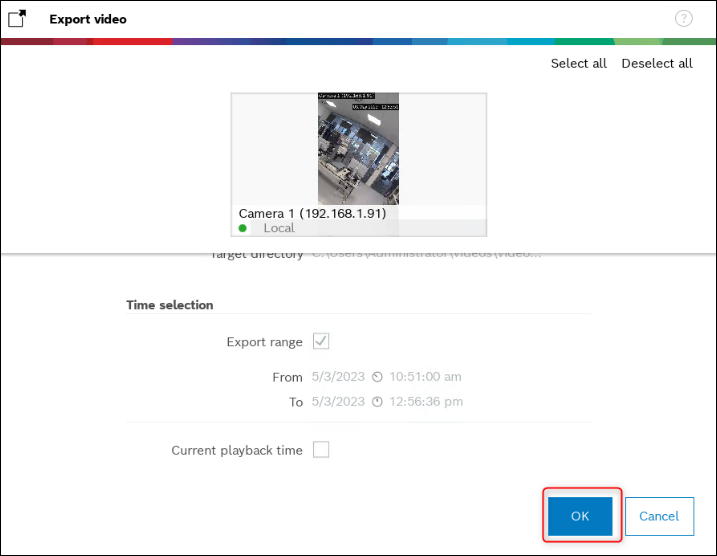
3. Set the Target as Local directory and select the time range for which you would like to export the video > click OK


4. The process of MP4 video export will start:

5. Once the export is done, the "Open" button will be displayed. Click on it in order to be redirected to the path where the video was exported.

Now, you can see the recordings of your camera in the mp4 format:

Still looking for something?
- Top Results